


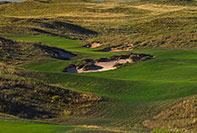
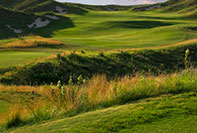

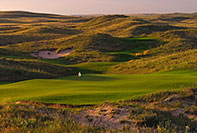
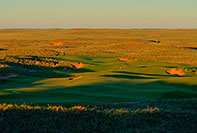


“My greatest satisfaction is to build a hole which is truly a bit different than any golf hole I’ve ever seen before, so it was a comfort to know there were lots of holes hidden among these sand hills, waiting to be found and prepared for play. The player who can control the flight of his ball and who has the imagination to use the force of the wind and the contours of the ground to stop his ball where he wants to – in Scottish terms, the player who knows how to play real golf – will usually prevail.” –Tom Doak
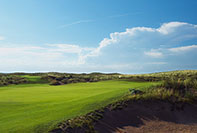
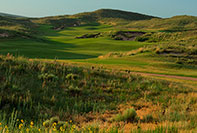
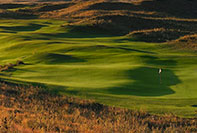
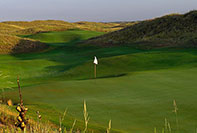
“Ballyneal is a match play course with serious distance elasticity depending on the wind and where you happen to put your peg in the ground. Creativity abounds at every green and many approaches can be played along the ground or through the air. While Ballyneal is not a ‘true seaside links’ it certainly plays like one.” –Rob Rigg, The Walking Golfer’s Society